















































In clubs, academies and even many ITF events, the opposite is true. When the game is over, you have nothing left of it. So if you want to post it on social media, you have to create the context yourself.
That means you should keep what’s important right from the start, the split step before the point starts, the recovery steps after, and add a simple rating scale to the screen so people actually understand why this point is important. This article covers how to find that STORY, keep it readable at 9:16, and make it work on social media.
Find a point worth posting
Not every good shot makes a good short-form post. Clips that do well show WHY the point was won, not just how hard the last ball was hit.
A useful vertical clip should answer three main questions:
- What was happening at that moment?
- What did the server or returner do to change the court?
- What created that decision?
If these details are missing, the video may look visually pleasing, but viewers won’t find a reason to watch it again or even share it with other players or coaches.
Three types of points that work well at 9:16 include:
- Return position points. At 30-30 or at a deuce, the returner steps two feet inside the baseline on the second serve. Pressure is created before contact.
- Service and repair points. A strong serve followed by a slow or narrow recovery. The court opens a crossroads not because of the big return, but because of the first step after serving.
- Defense against attack with two shots. A player skates behind the baseline to stay in the rally. Then suddenly stepping in and taking charge. It’s all about the legs, not the ultimate winner.
When you find a spot worth sharing, don’t just hold back the winning shot. Need a 9 second clip? Drag at least 14 seconds from the source. That means a split step before the serve, a full sequence, and a moment after the end of the point. Viewers need that tab to understand positioning. If the cut starts at contact, even a good rally looks random.
Make vertically readable
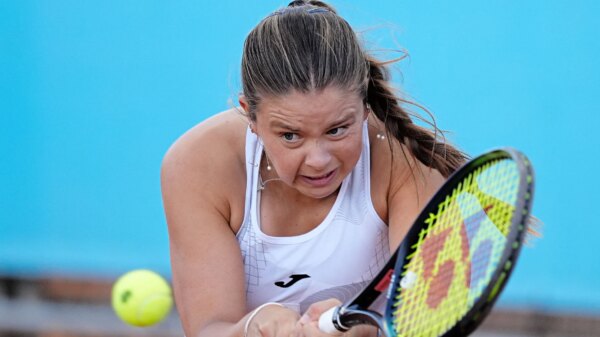
A full tennis court does not fit neatly into a vertical frame video. Cut too wide and the players become small. Cut too hard and the ball or opponent may disappear.
Typical mistakes that make tennis unreadable vertically:
- A cut to the middle of the grid that intersects the two main lines
- By hitting the hitter hard, the opponent’s court position disappears
- Placing large captions on service boxes or outlets
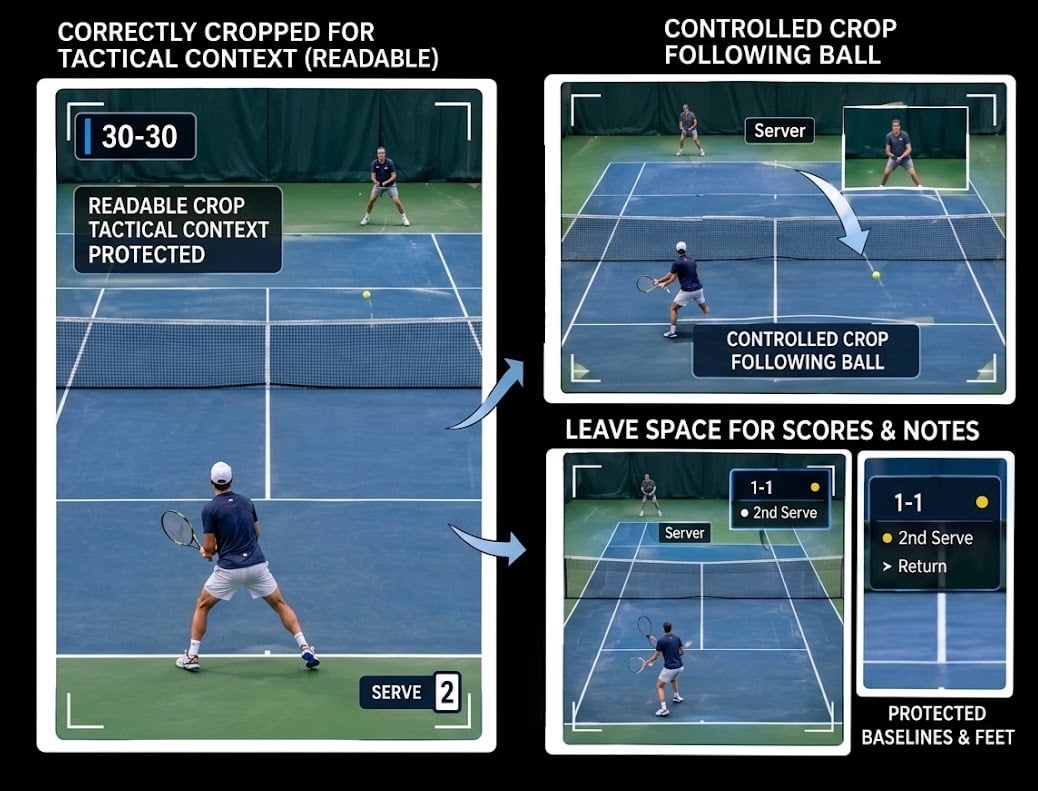
When cropping a tennis video in 9:16 vertical format, make sure you don’t cut the information that shows the development of the point being played. You need to keep the baselines in the frame, keep the players’ feet visible, and leave enough field in the frame so that anyone watching can immediately tell who is hurt.
Always avoid “fast zooming”. Instead, follow the ball with calm, slow transitions and make sure you don’t miss the score or text. First, completely finish your cut, then go ahead and export the final version properly. do not try to compress the file vertically.
Check for clarity before refining
Academy live streams, ITF streams from side courts and phone footage from behind the baseline. they all have the same limits. Ball visibility diminishes in the middle of the court, racket edges soften at contact, and white lines bloom under dim lights. Horizontally it looks acceptable. Extended to 9:16, it falls apart
Before publishing, test the video on a laptop at 100% stopped for three seconds.
- The ball in the middle of the field. is it round or cream?
- Racket contact. can the wire bed and frame edge be separated?
- Baseline and service line solid or hum with compression artifacts?
If those three are soft, the viewer will lose the ball with 50% phone brightness, no sound
This is where a special quality pass helps. You can use video amplifier to improve smoothness, reduce some click noise and bring back a bit of definition. The idea is to keep editing apart from simplicity.
Vmake Labs video enhancement tools are built for this step.
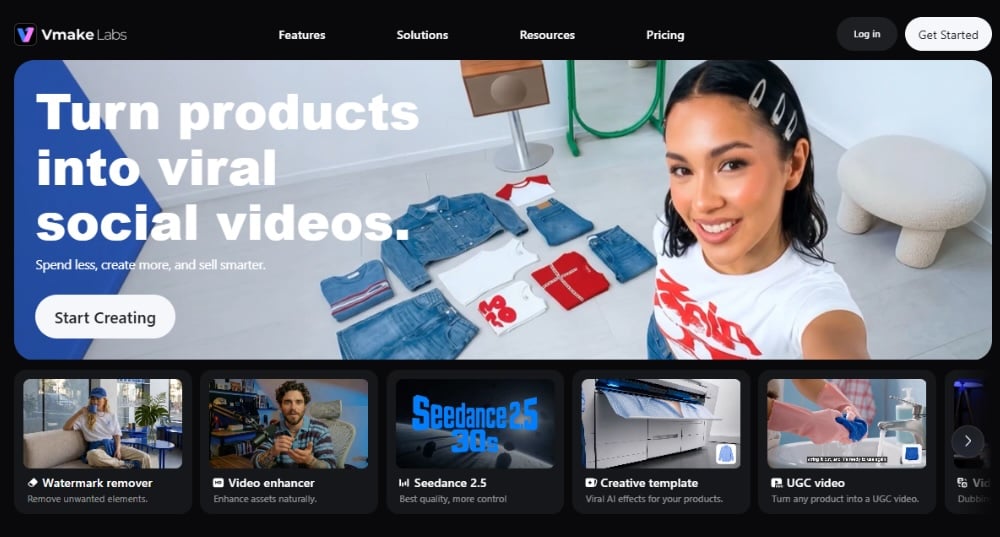
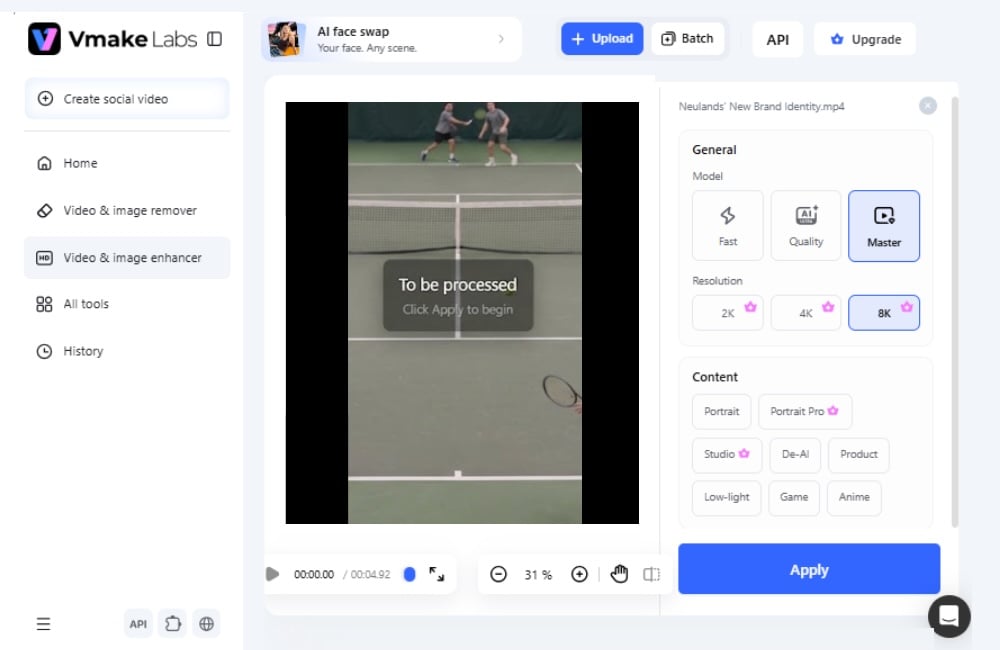
The process itself is simple. Access the video booster page Vmake Labs:upload the clean 9:16 work file you have already exported. no need to rebuild the schedule.
After uploading a video, you’ll see models and resolution options on the right.
There are three models: Fast, Quality and Master. Fast is for quick previews, Quality balances speed and detail, and Master is the one that keeps the finer details of tennis — the edge of the ball, the strings of the racket, and the white lines — intact as much as possible.
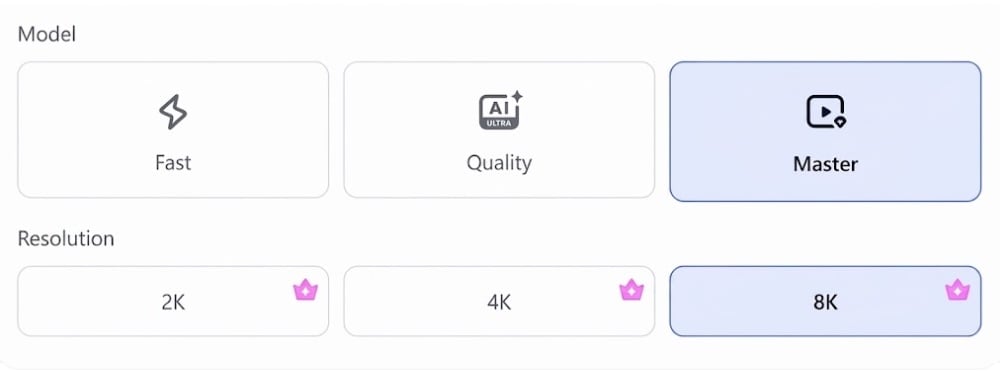
Below that are the resolutions: 2K, 4K and 8K. For a 1080p academic clip you’re going to publish in 9:16 short form, Master at 8K gives you the cleanest viewing result on a phone, with tighter grounds and less hum around the lines.
Select Master, select your output resolution, and click Apply. In seconds, you get a cleaner version of the same video, the same 1080p/30fps time-lapse, but with better edge contrast and less compression skin.
In the previous version of our test clip below, you can see exactly why vertical crops are split. It’s shot in 1080p / 30fps from behind the baseline, already cut down to 9:16. You can see the ball two meters over the net, but it’s soft with a little trace. The throat of the racquet is blurred where it intersects the background, and there is a faint halo around the baseline from compression.
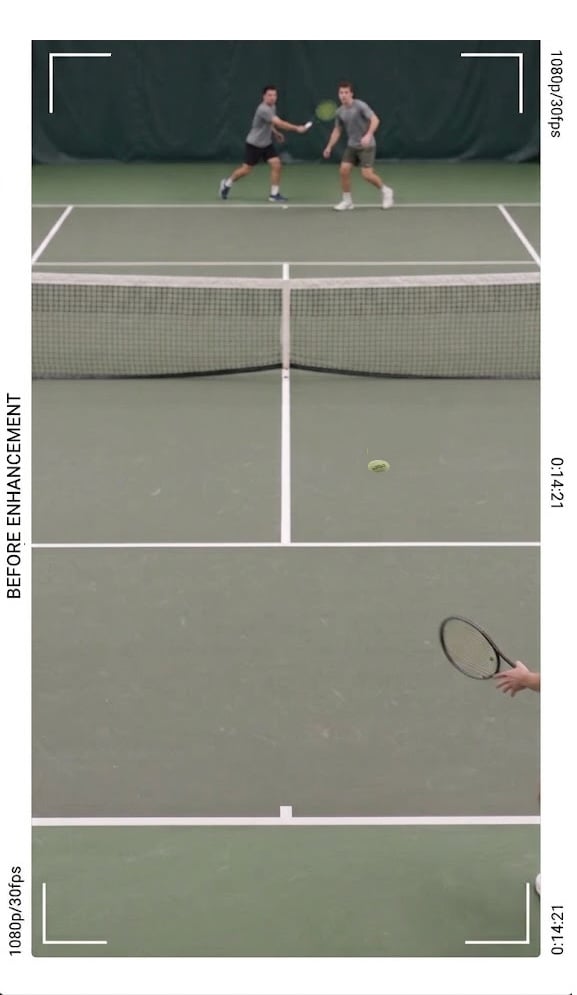
100% on a laptop you can still guess it. On a phone with 50% brightness, no sound, you lose the ball for the frame.
For this test video, we chose the settings you see here: Master is selected for the model and 8K for the resolution; one pass after locking the edit, no rebuilding the timeline.
The following shows the same timing, 0:14:21, on about two meters of grid after one Master / 8K pass.
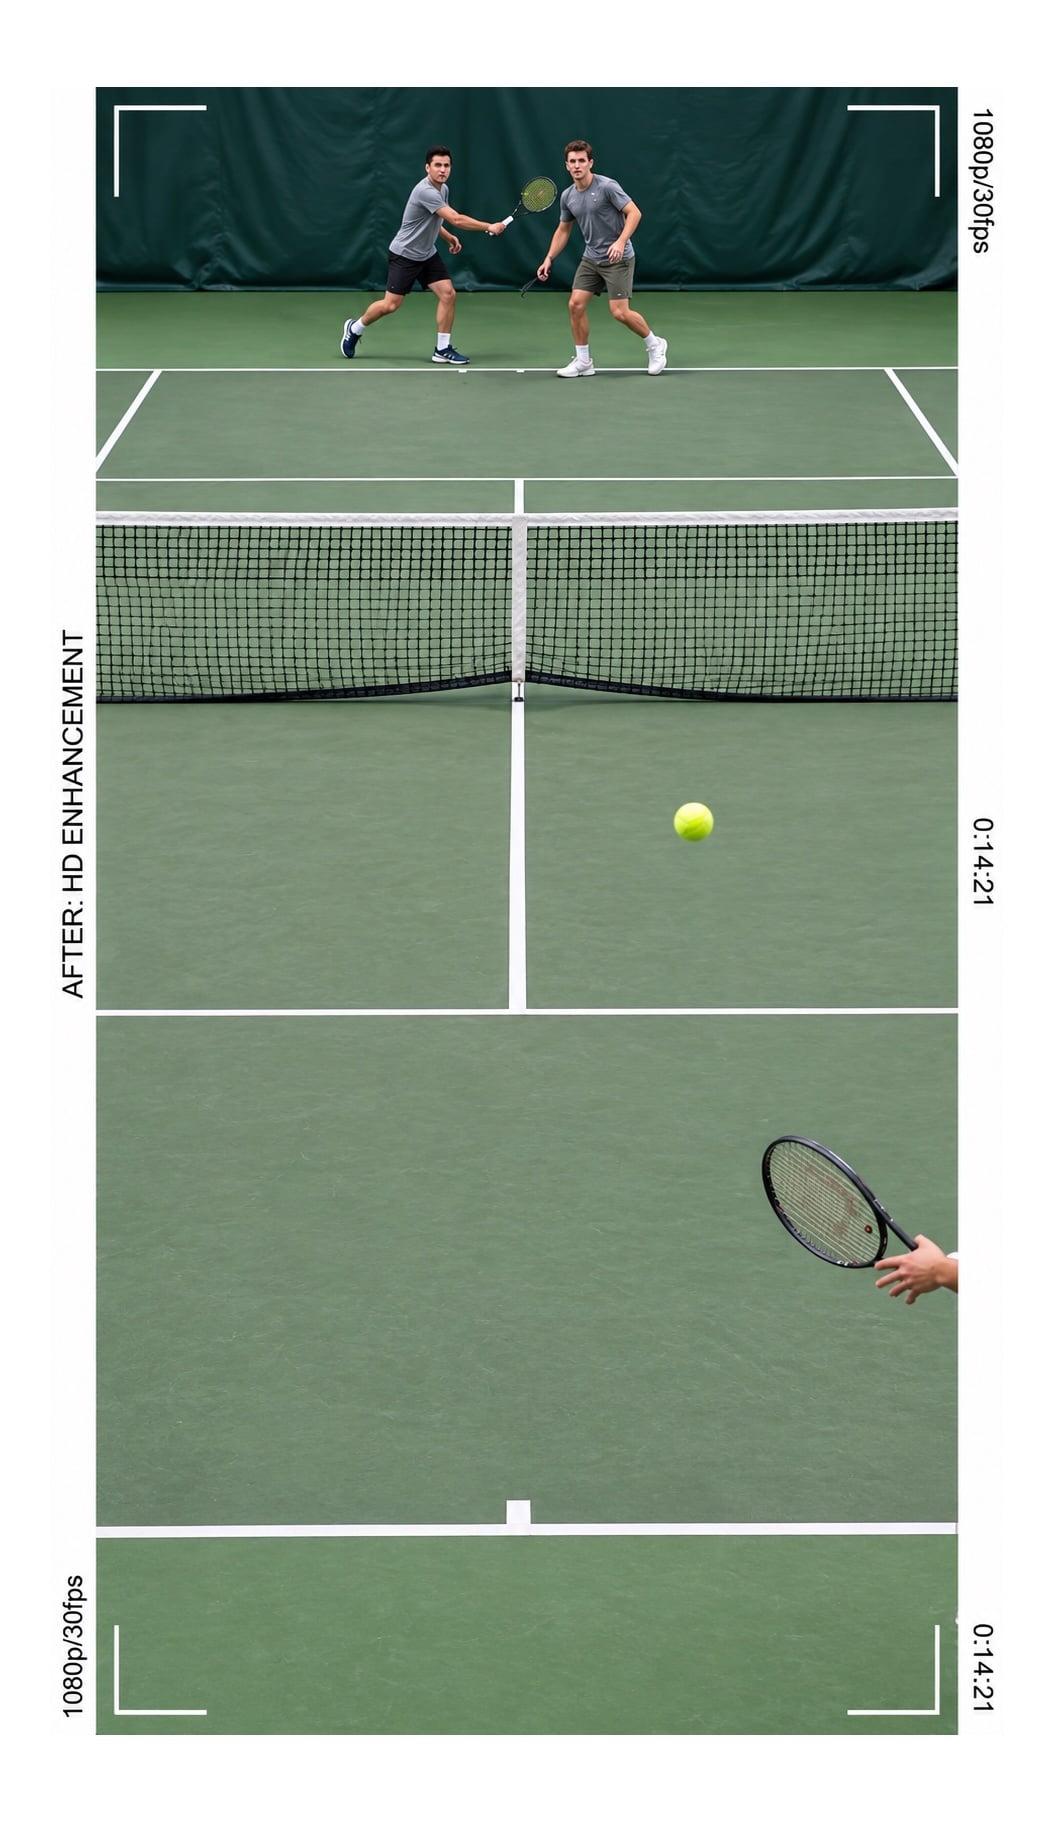
The ball is still small. The tool doesn’t create a bigger ball, but the edge contrast is better, so you can follow it on the court instead of losing it to the frame at 50% brightness. The edges of the racket are cleaner. you can see where the frame ends and the background begins, and the baseline and service line are tighter, helping to judge depth and recovery. Networking is also less fuzzy.
Add context before publishing
The final step is to view the finished clip as a viewer, not as the person editing it.
Turn off the timeline and watch it once without stopping. Can you actually tell who is serving? Can you see both players clearly? Does the bill look right? Can you follow the ball from the set to the end? And the main thing. would someone who didn’t watch the live show still understand why that last shot worked?
Keep what you put on screen really simple. Just an account of who is serving, maybe a brief note on tactics. That’s usually a lot. Do not place large graphics above the base, service boxes, or players. Tennis itself should be the focus.
The best tennis clips don’t try to show everything. These videos only save the point so that people understand what happened. Try to find “that” tactical part of the play, capture the movement leading up to it, frame the pitch properly, and enhance the video if necessary. That is what turns an ordinary rally into a short clip with a real story.